The Sun
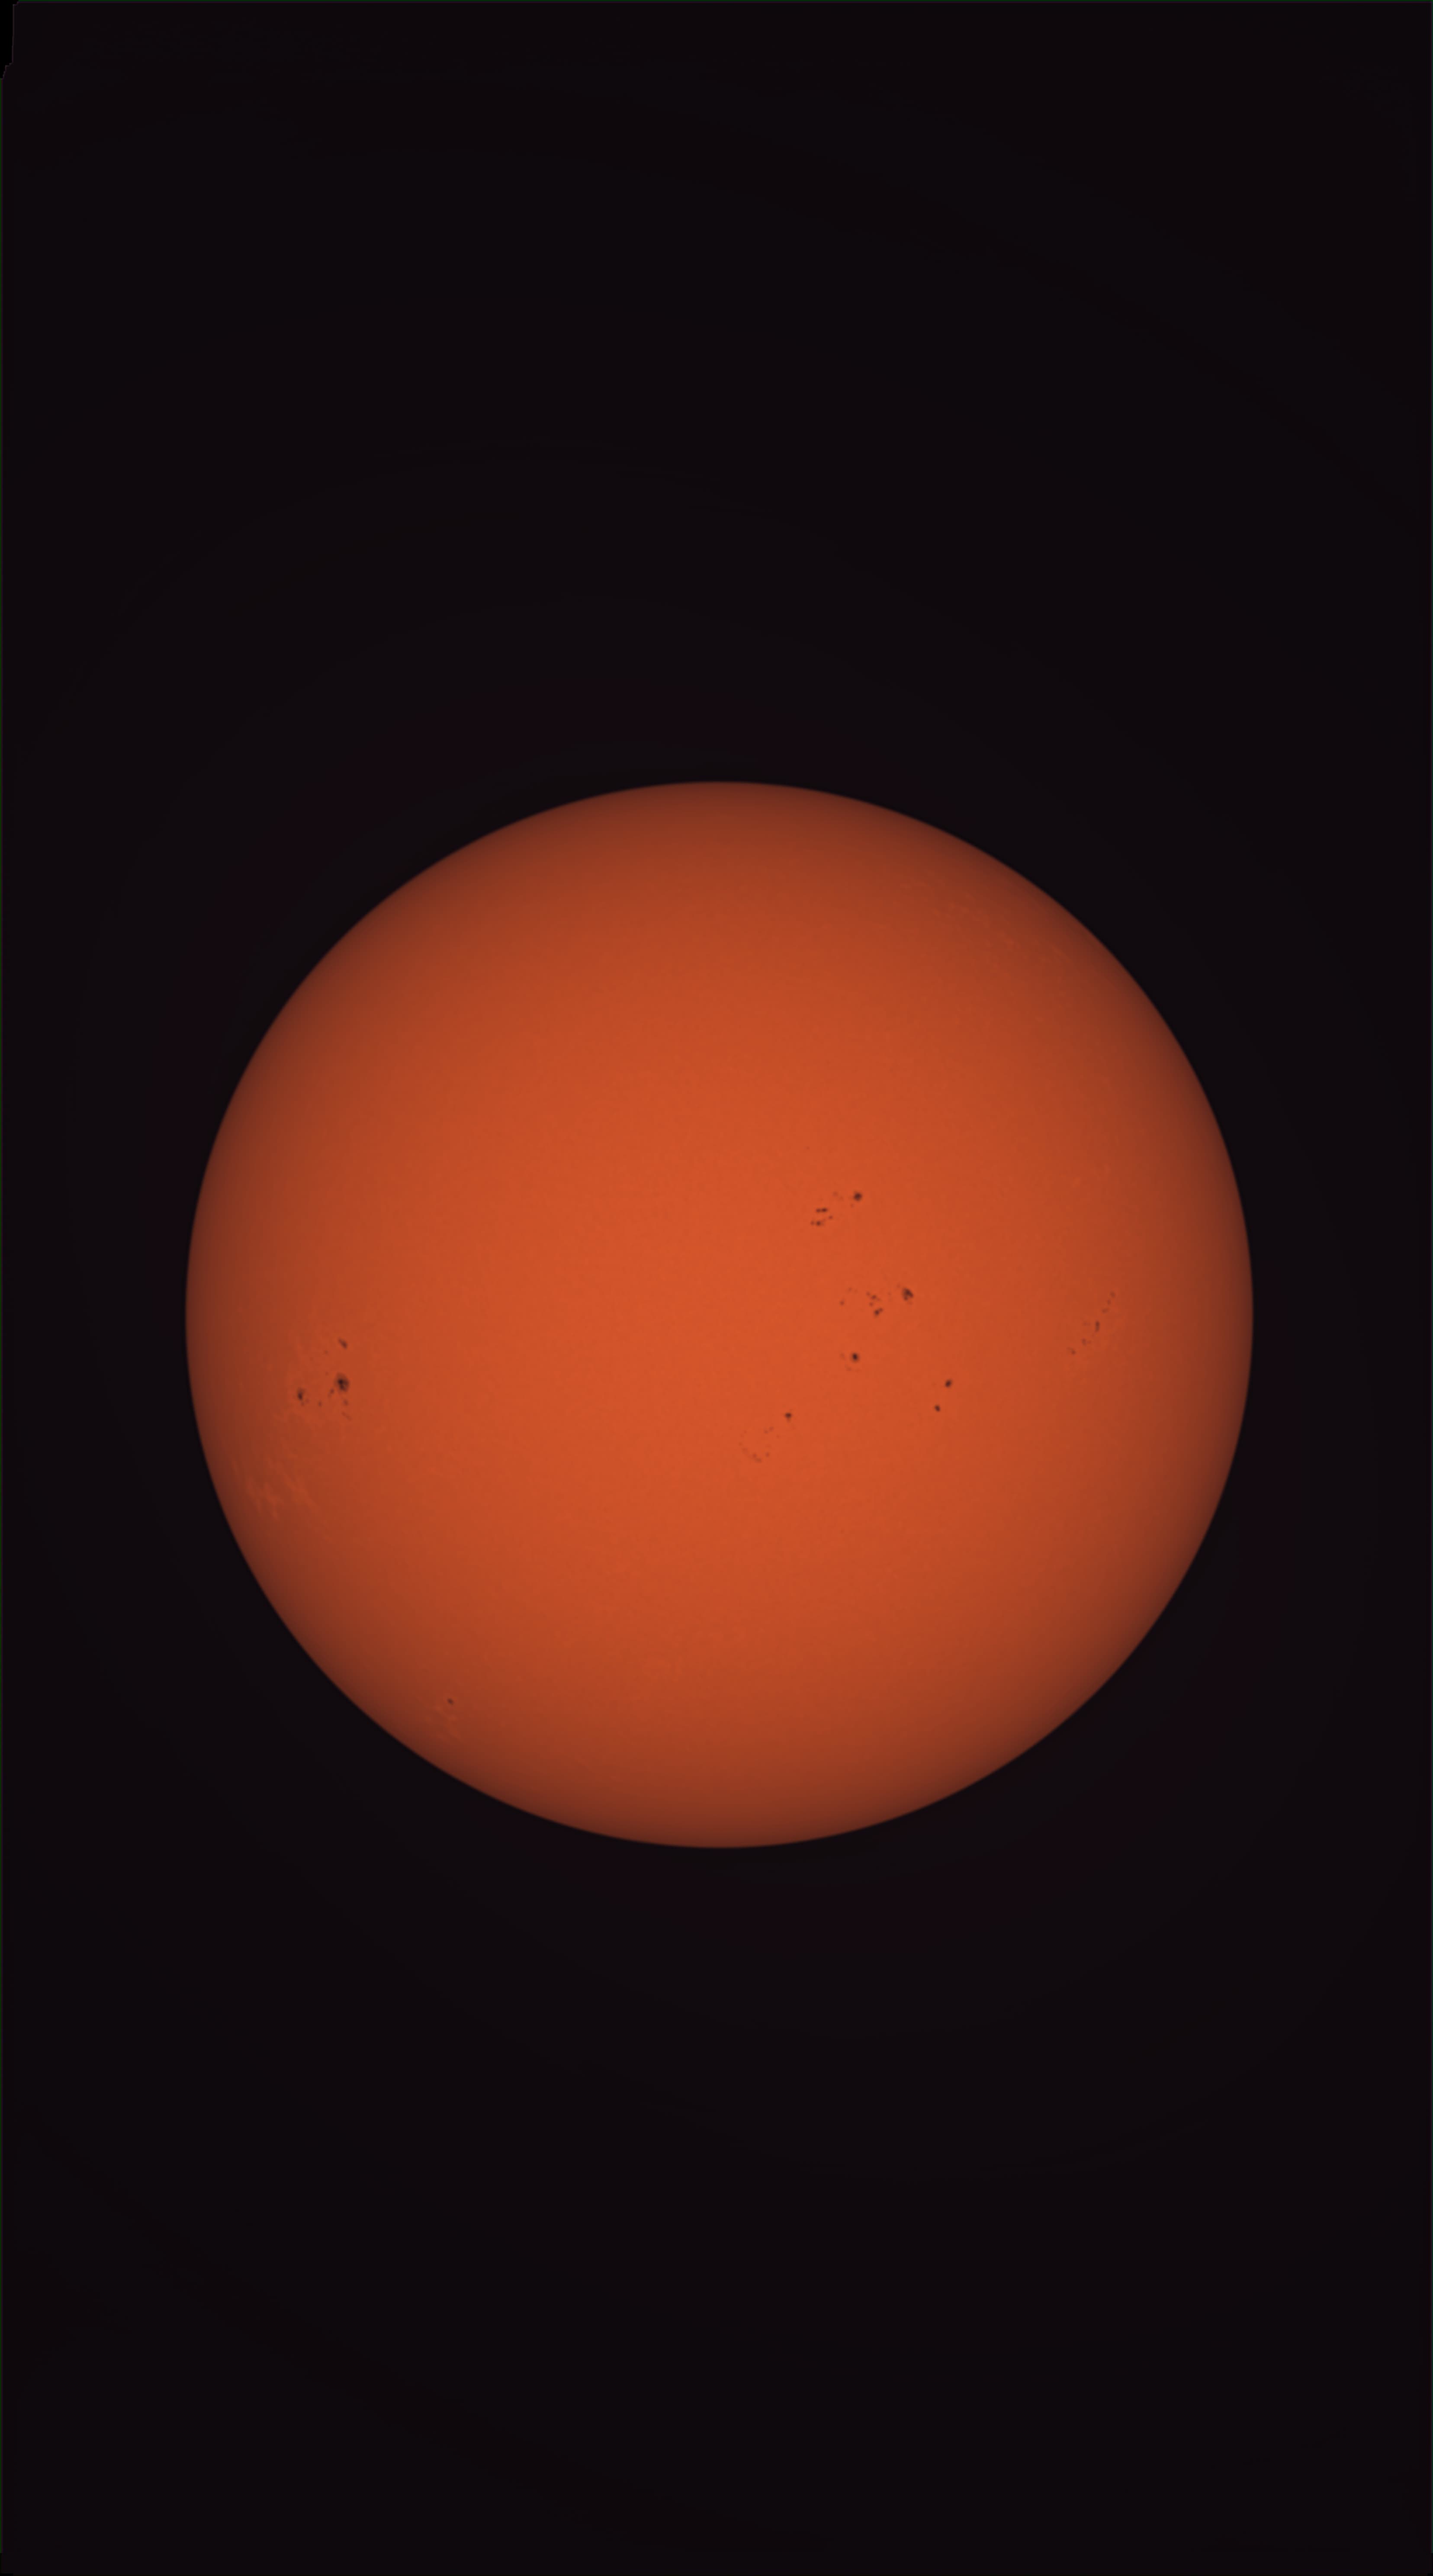
This is the sun as viewed through a white light solar filter on January 7th, 2024. Let's dig a little deeper.
Imaging the Sun
One of the biggest dangers of the sun is looking at it. You would never look at the sun with your naked-eye because the UV rays it emits can burn a hole straight through your retina! Likewise, you would never look at the sun through a telescope without an adequate filter. Looking directly at the sun through a telescope is actually much worse because it will focus a lot of light on a very small area of your retina or camera sensor.
In the photo above, I used the Seestar S50 smart telescope, which is an incredible astrophotography device for it's small size and price. It has a focal length of 250mm and a Sony IMX462 color camera that can take photos up to 1080p. What that means in practice is that the sun will fit nicely in the frame at a decent resolution. It comes with a white light solar filter that is safe to use for imaging the sun, but there are some things to consider about solar filters.
Solar Filters
There are 2 main types of solar filters: white light and hydrogen-alpha.
The Seestar S50 comes with a white light solar filter, which is the cheapest kind of solar filter. White light filters block out 99.999% of all light coming from the sun, which is great for imaging the photosphere. The photosphere is what you see in my image above, and that is where you can find sunspots! However, those interested in the solar flares and prominences will be disappointed due to the fact that white light filters block out too much light to see them.
Hydrogen-alpha (h-alpha) filters are much more expensive (often over $1,000), but they allow you to see the chromosphere. The difference between this and a white light filter is that a white light filter blocks out all light equally, whereas h-alpha filters block out all light except a very narrow band of light emitted by hydrogen atoms in the sun. This allows you to see the very cool solar flares and prominences.
An h-alpha filter would be very cool to have, but the Seestar S50 doesn't have a compatible h-alpha filter. Even if it did, that would be a big investment.
Setup and Taking Pictures
The Seestar S50 is designed to be easy to use, and this makes it quick to setup. I live in an area where there are a lot of trees, so I put my telescope on the roof. It comes with a small, but sturdy tripod, which I used to level the telescope.
The telescope has a built-in computer that can be controlled with a smartphone. All I have to do is turn the telescope on, wait for my phone to connect, then select the solar imaging mode. I first have to put on the solar filter, safety first! Then, it should automatically slew (move) to the sun. However, I have had issues with this and I have to manually slew to the sun. Once it is in the frame, the Seestar will automatically follow it and keep it centered.
You could simply take a photo and be done, however, there is a way to get higher detail photos. If I instead take a video with many frames, I can use a technique called lucky imaging to get a sharper image. This has the benefit of increasing the resolution of my image, and averaging out any distortion cause by the atmosphere.
The Seestar allows me to take RAW video, which is important to having the highest quality frames. The downside of this is that you are limited to 10-minute video files, and the files take up a huge amount of space. We are talking around 14GB for a 10-minute video, which fills up the internal 64GB storage very quickly. After I am done imaging, I take it inside and connect it to my computer.
More to Come
I am still updating this page, so check back later for more info!